For my second shoot I decided to go in the direction of portraiture. However, as I am very unfamiliar with studio lighting and had worries about finding suitable models, I chose to have a go at it in a slightly abstract manner.
Here is the basic of my second brief:
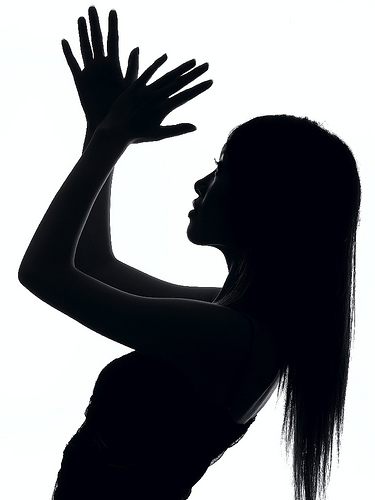
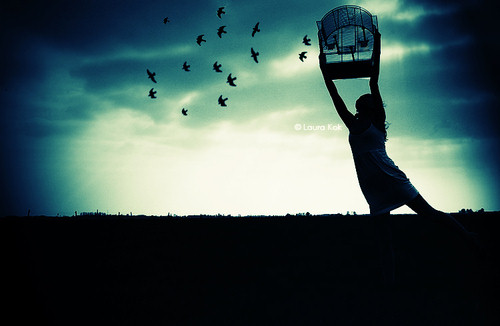
"Overview and rationale: I wish to create a series of images based on silhouetting the human form for my portrait shot. I intend to create an image that alters the way we assume a portrait shot should be taken, whilst experimenting with studio lighting in a creative manner. I also wish to capture the human form in some interesting shapes, keeping the focus on the shapes rather than the model(s) themselves.
Aims and objectives: My main objective for this project is to experiment with studio lighting, as it is not something I have worked with before. I do not wish to take beauty shots or anything similar such as fashion, as I want to create something different that would push my boundaries with lighting and force me to think more creatively. I wish to use what I have learned about studio lighting to create something of personal interest to me that I would be happy with displaying as my work.
References and research images:
Most of these images are from the Google Images search engine, with the second to last coming from Orcatek Photography and the bottom by a photographer named Ron Spackman (both found through Modelmayhem.com)
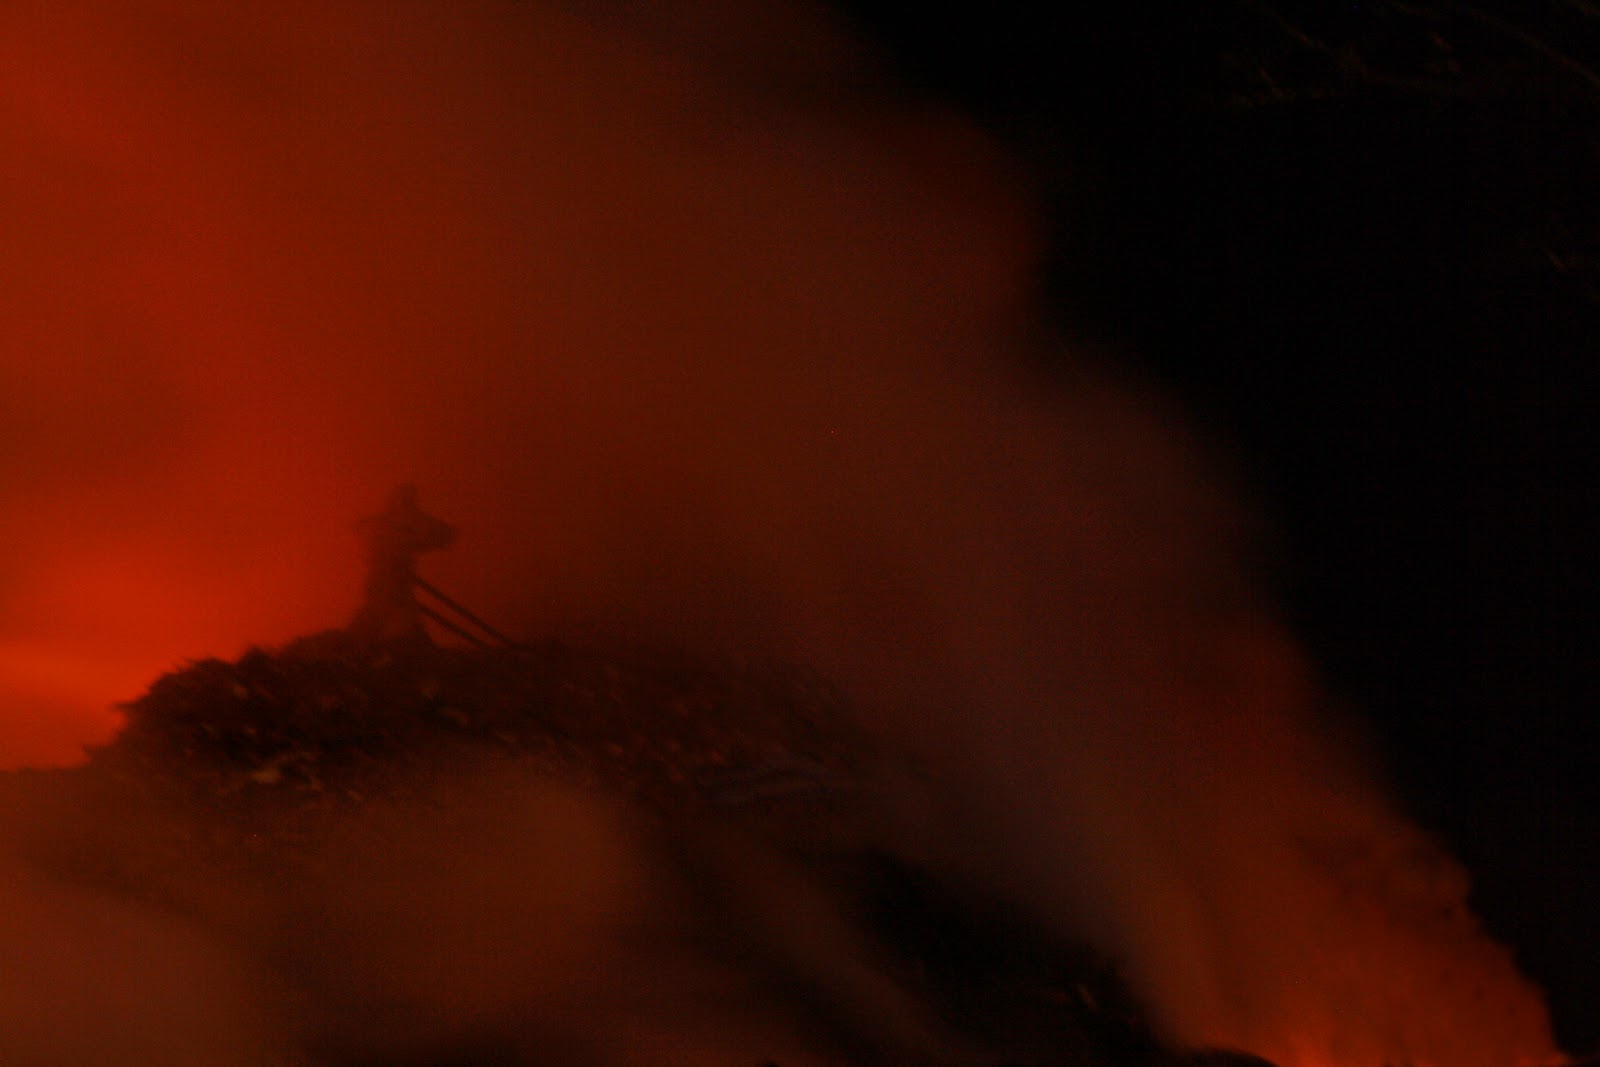
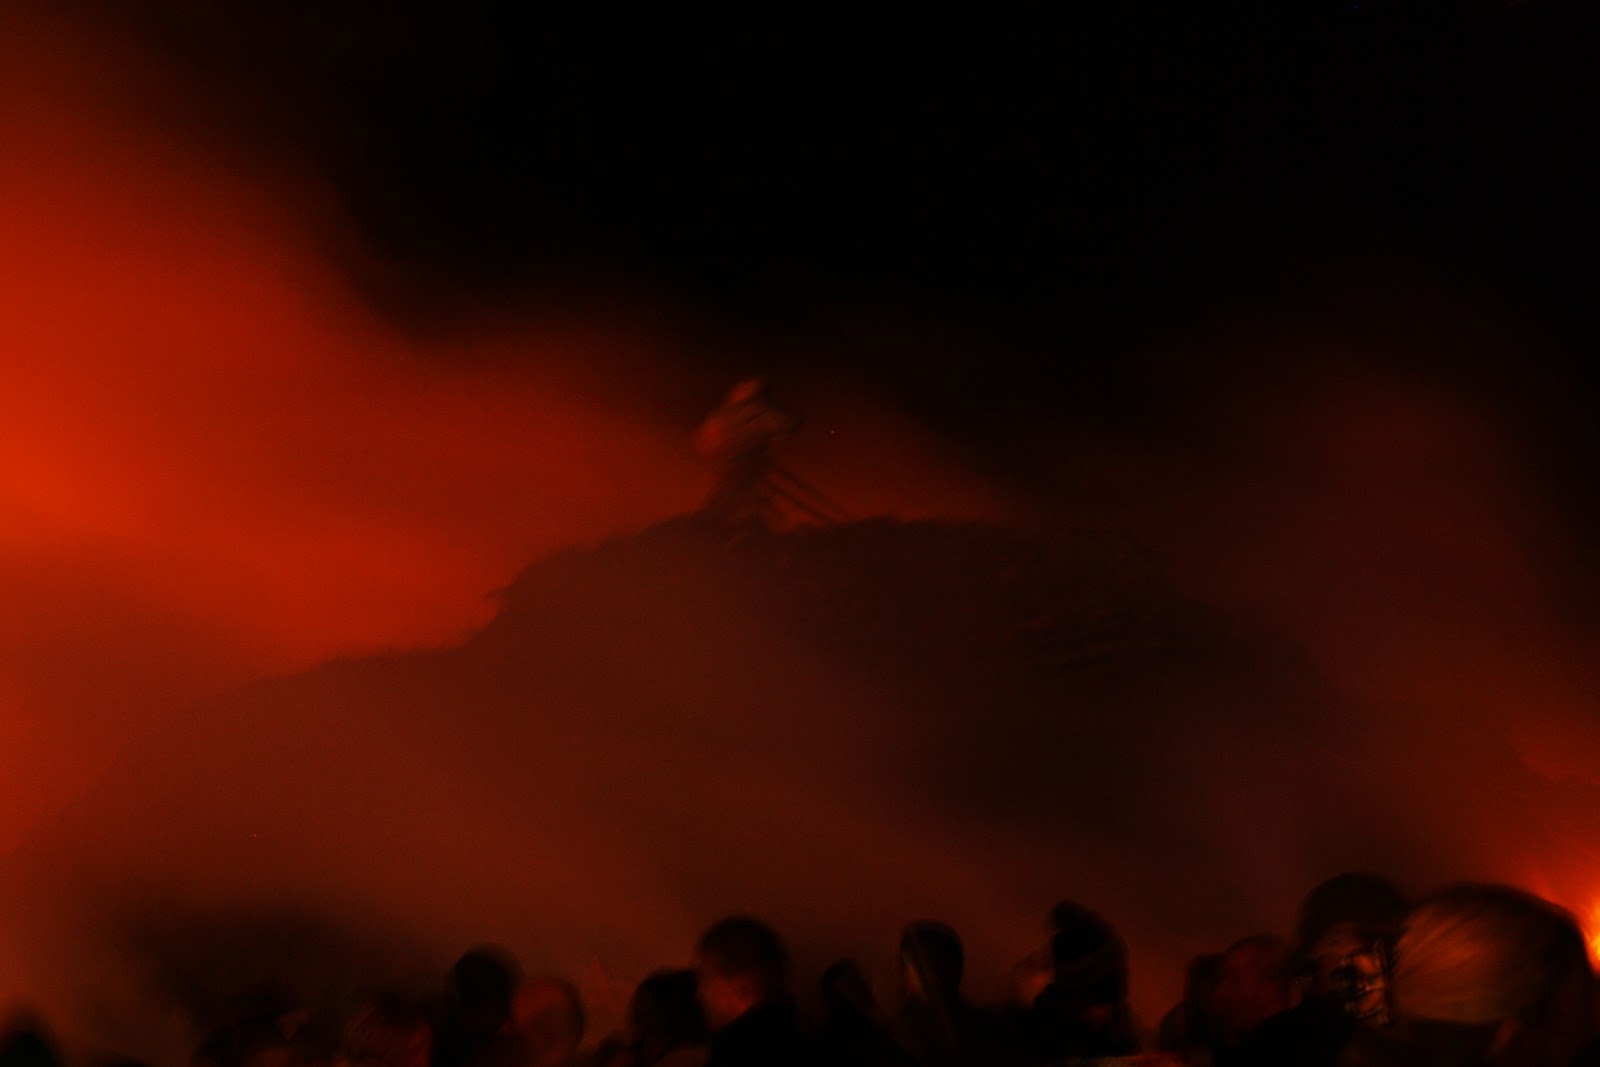
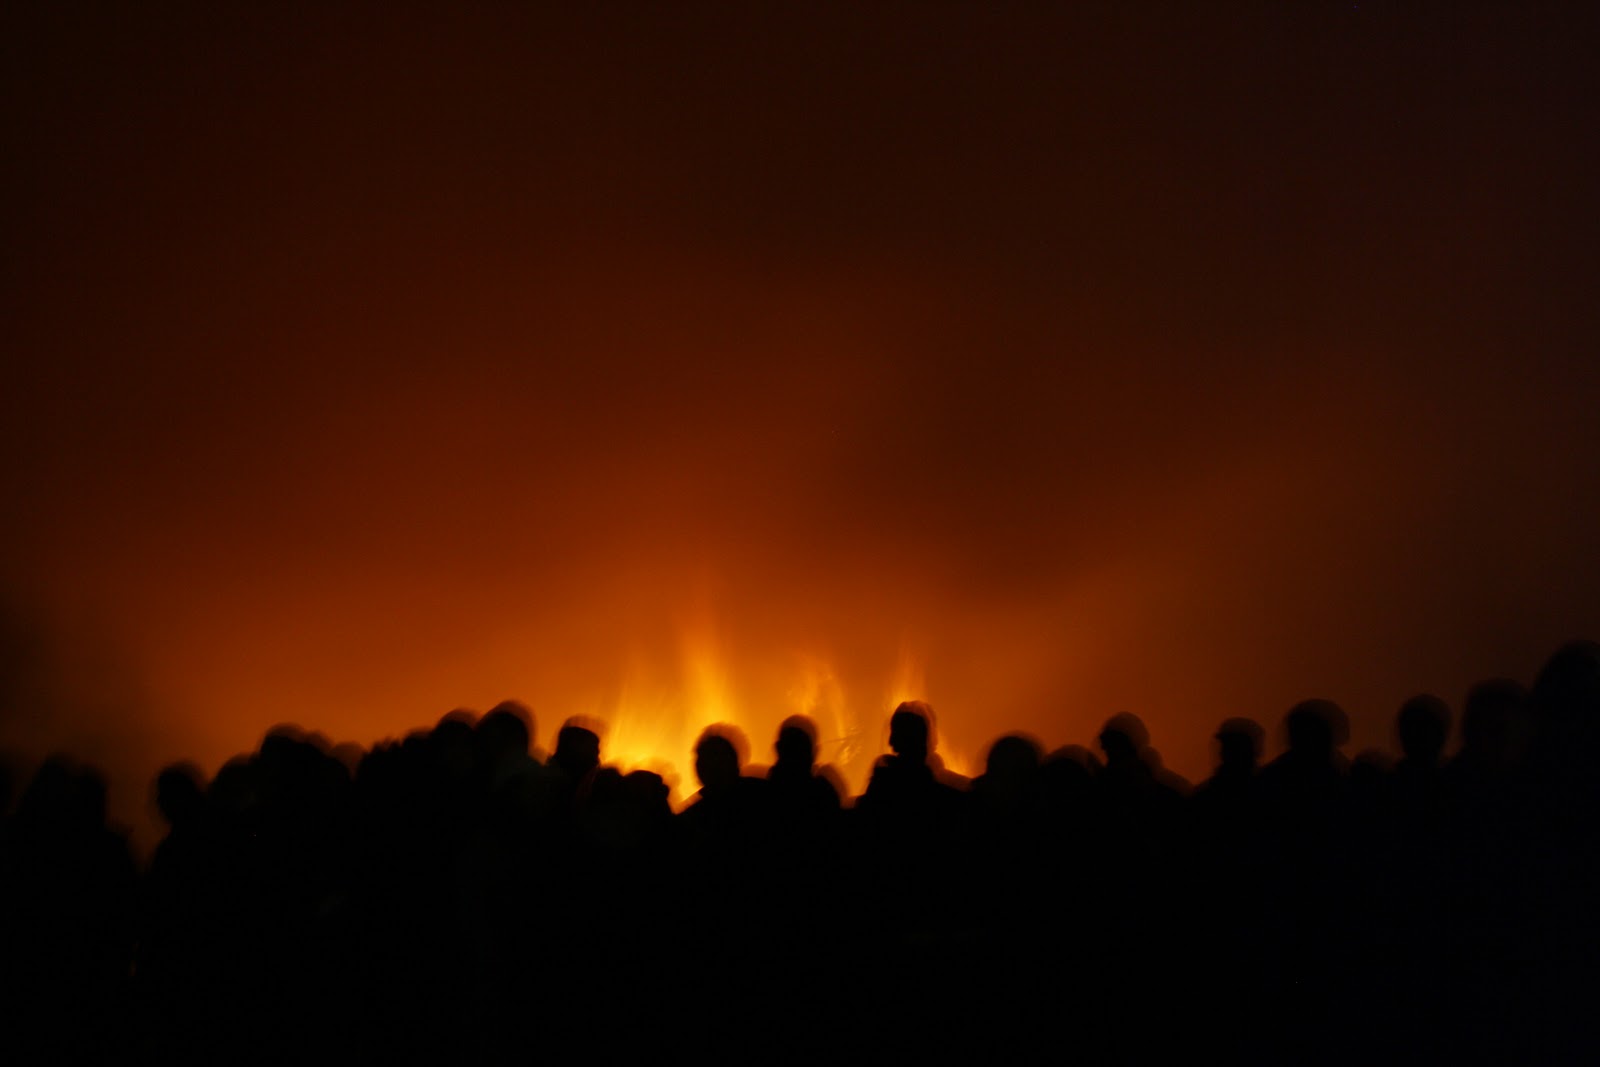
The colour images show how dramatic a silhouette can be against a bright, detailed background, whilst the others show that simple black and white silhouette photography can be equally as interesting.
I also have invested in the book “Photography” by John Ingledew, which I’m hoping will help me within this project, and will be visiting the library for other books to give me a more in depth knowledge of how to create silhouetting."
Third Shoot: I kept the third shoot simple, here is the basis of the brief.
"Overview and rationale: For this piece I wish to capture emotion within an image. I wish to photograph a male model and create an image that is quite emotive and expressive, rather than static and posed.
Aims and Objectives: I wish to explore lighting the features of a model in a creative way that can set a mood. I will experiment with Rembrandt and side lighting especially, to create quite an abstract, low key, moody image. These will probably be head and shoulder shots, experimenting with eye contact and different facial expressions. I am aiming to portray personality traits, whether genuine or acted.
References and research images:


The first image was chosen to demonstrate the kind of lighting I will investigate, which I assume is similar to a kicker light, but as the subject is turned directly towards the light, it is much more dramatic. This image was taken by Anathema Photography and I found it through Modelmayhem.com.
The second image was found through the same website, and was taken by a Turkish photographer called Mehmet Turgut. It is a very expressive image and I think that the colours add to this dramatically. I will experiment with both black and white, and colour images to see what works best."
I did these shoots last week with the help of my flatmate Claudia as a brilliant model. Absolute nightmare, I seem to have lost the SD card that has this work on. Never been so stressed in my life.
Really upset about this and hoping that it turns up asap!! Achieved some great images from this shoot, my favourite from the silhouette shoot was one where the model swung her long hair around as this created some very interesting shapes. The expressions shoot captured a beautiful set of images of the model laughing naturally.
Fingers crossed.
^ final part of this post updated on 6th November, I thought that the SD card was safely in my room in Salford. Gutted.